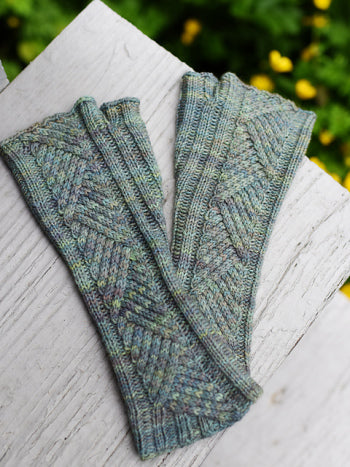
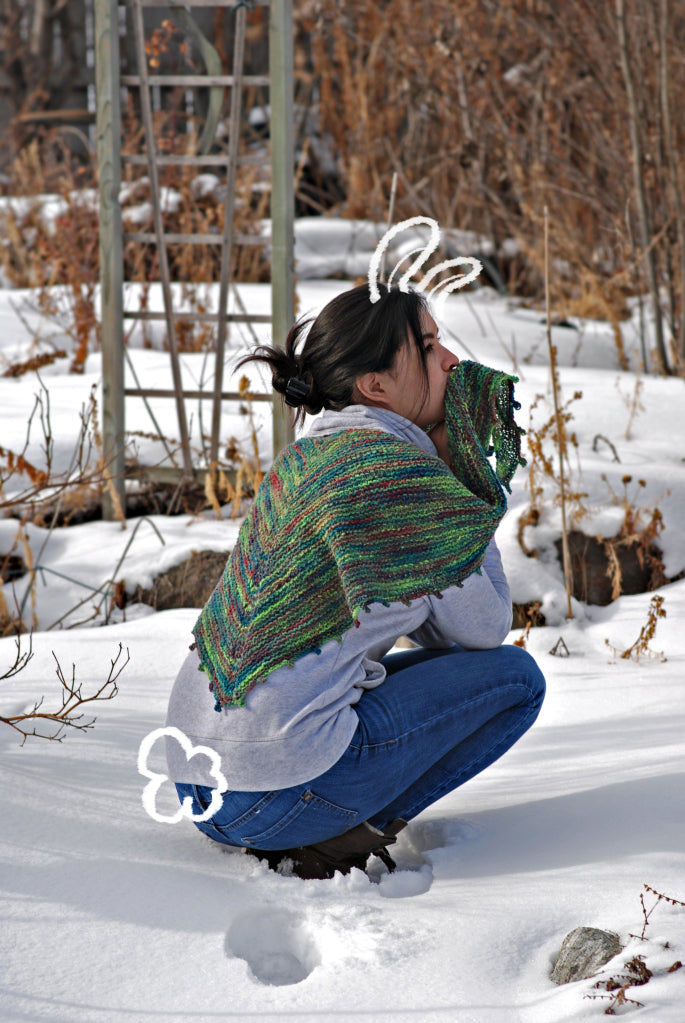
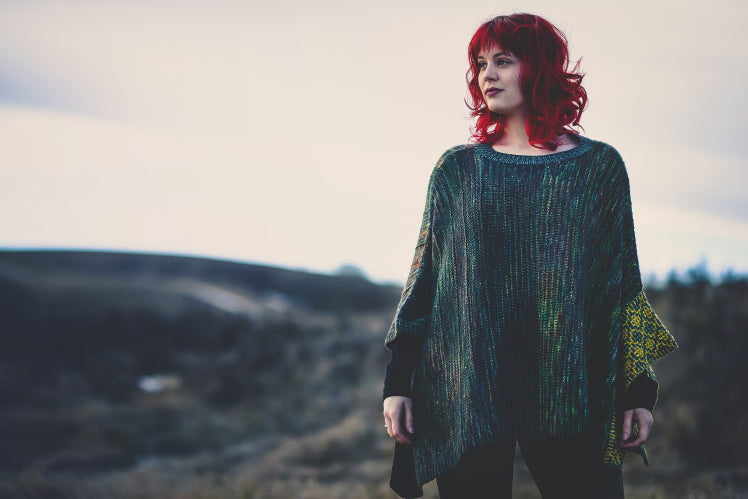
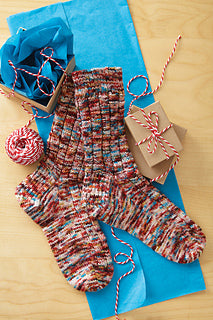
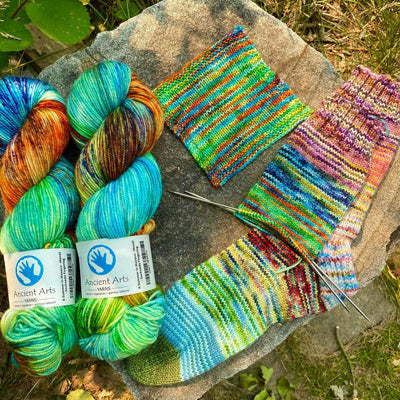
Hunter Hammersen’s newest design, Tacit, features beautiful zig zag cables which are mirrored on each fingerless mitt. In today’s post, Caroline talks about how hand-dyed colours evolve over time in the Ancient Arts palette. We also have an interview with the designer herself to share an inside peek into how a pattern goes from concept to design!
Seeing Hunter’s design and reading what she had to write about it was a lot of fun for me. You see, I know this skein of yarn very well! It was indeed sold at the second Sock Summit (2011), and this event was very important to me personally as it was the first large retail show I participated in with a full booth of my yarn! It went better than anyone (even me) expected, and the experience gave me the impetuous to keep building my dream. This skein of yarn is indeed vintage: it is from the first iteration of the wool/nylon blend yarn that I dye and love. This blend has changed over the years as we moved from small suppliers to medium, to at last being able to buy large custom mill runs; like the colour, the yarn base has evolved over time to match my personal criteria. Nowadays it is plumper and softer, being made from fine merino (not just wool), but this original was a lovely yarn, too, and I miss it.
The colour of this skein tells a dyer’s story. It is technically called Enchanted Forest, which is a colour that is based on the landscape around a tourist attraction called the Enchanted Forest on Highway 1 in British Columbia. This colourway captures all the lovely shades in that mysterious forest, and is kettle dyed with many layers of colour. The interesting thing about this colourway is that it is very sensitive to the minerals in our glacial sourced water, and that means the colourway initially dyed differently depending on the time of year. In the spring when the snowpack melts and runs off the water is very different from later summer, and so sometimes the colours were all greens, and sometimes one got a lot of purples, browns, and blues.
 Looking at this skein brings it all back… Seeing that variation and having to decide what to do. Keep the variation or get rid of it? When the colours shifted to be more intense and variegated they made me think of the ocean, of sea life, and in particular the abalone – a variety of shellfish with spectacular shells. A dyer with consistent colourways cannot have a colorway that shifts so dramatically (customers need to have an idea of what they are getting) so I had to make a choice. I just couldn’t give up either version so I split the original colour into two! Enchanted Forest lost some of its variation and is now mostly greens and yellows and browns like the forest canopy. Abalone is much more variegated with purples, blues, and more vivid browns, in addition to the greens and yellows of the original colourway. Tweaking the amounts of dye and making the colour more intense means the colours can be dyed consistently year round, and are clearly different. But all of this change makes this skein very special as it now has no corresponding colour. It is unique, and it is so much fun to see once again the skein that was the root of two of my most favourite colours!

Ancient Arts Yarn (AAY): What attracted you to choosing this yarn/colour in your design?
Hunter Hammersen (HH): I probably should have a better story, but really it was mostly the result of a bit of a stash dive!
I have a complicated relationship with my stash. It’s surprisingly tiny. Like ‘would all fit in a single big suitcase’ type tiny. And I go through it often. I’m actually pretty ruthless about moving things out of the stash if I don’t think I’m going to work with them. So yarn don’t generally hang out there for long; it either turns into projects or goes on to other homes.
So when I saw this skein in my stash, I was a bit shocked. It’s from the second Sock Summit way back in 2011. I can’t quite swear to it, but that may very well make it the oldest skein in my stash.
Once I found it, I sat with it for a few minutes, realized just how lovely it was, realized I was never going to make socks with it (it would make perfectly lovely socks, I just make my socks out of thicker yarn because working at sock gauge with the skinny stuff hurts my hands), and decided it clearly needed to be mitts!
 AAY: What was the design process like?
HH: I’d been wanting to play with cables like this for quite a while (because that’s really all this stitch pattern is, 2×2 cables and ribbing, it’s the easiest thing ever once you get started). I first thought about them for socks, but that proved a bit tricky. Cables aren’t terribly elastic, and you want your socks to be pretty darn stretchy. Plus cables can be a bit bumpy, and sometimes that doesn’t feel good when a shoe presses on it.
But when I put the cables on a mitt instead of on socks, suddenly things got a lot easier. Mitts don’t have to be nearly as stretchy as socks, and they spend ever so much less time in shoes! Besides, they really are lovely enough that you’re going to want to have them out where everyone can see and admire them!
And I might just possibly have enough yarn left in the skein to squeak out a hat somewhere down the line!
AAY: What are some of your best tips to ensure a cozy mitt fit?
HH: Oooh, this is fun, let’s talk about needle sizes.
So, two things to keep in mind. First, your dominant hand (the one you write with) is very likely a little bit bigger than your non-dominant hand. Grab a tape measure and check (or try putting a ring you usually wear on one hand on the same finger of the other hand). If you have a fairly substantial difference (more than about half an inch at your wrist or the palm of your hand), you may want to account for that when you knit mitts. I find the easiest way to do that is to use needles one size bigger when knitting the mitt for your dominant hand. The difference will be subtle (much more so than actually using a different size from the pattern), but it can make things much more comfy!
The other thing to keep in mind is that your forearm almost certainly changes size between your wrist and your elbow. If you’re making a short mitt, or if the difference between the widest point you want the mitt to cover and the narrowest point you want the mitt to cover is small (somewhere around an inch) it probably won’t matter. Knitting is generally quite stretchy and forgiving! But if you’re making a very long cuff or if you have a big difference between points on your arm you want to cover, you may want to consider using needles a size or two larger for the inch or two of mitt closest to your elbow.
Oh, and just in case you’ve heard someone warning you that changing the size of your knitting by changing needle sizes is a terrible idea, let me put your mind at rest. There are absolutely times when changing needle sizes can be risky. For example, if you’re knitting something where you need a sturdy, dense fabric (like socks), just going up a needle size will give you a looser fabric that won’t be as sturdy and won’t hold up as long. But for more forgiving projects (think hats, shawls, cowls, and mitts) that aren’t subjected to the same wear and tear as socks, working with different needle sizes can give you just enough flexibility to customize your sizing without running into any durability problems.

