


Today we have a special treat for our blog readers: a behind-the-scenes peek inside the dye studio! Here at Ancient Arts ,we use many dye techniques to create our colours, and we dye over 130 colours! Even though there are so many they all have one thing in common: they are all created using some form of immersion in water, giving the finished yarn a unique and very beautiful depth of colour similar to what one sees in watercolour paintings.
One of the techniques that fascinates people the most is how we do our gradient dyed skeins, so today’s post will show you how we do this style of dyeing using our very popular Siamese Cat colourway as an example. Siamese Cat is one of our Meow Collectionyarns and is inspired by Seal Point Siamese cats; it is designed to colourmatch specific rescued cats who provided the modelling for the colourway. To make this colour, it takes six layers of dye that are applied in both a dip-dye and immersion style. In total, this colour takes 2-4 hours to create, depending on the yarn base being dyed! It has to be done in small dye lots of no more than 10 skeins at a time so that the colour can be carefully controlled.
 Colour matching something like a cat is an art. There are no dyes out there that are exact matches for the cat (or, truthfully, whatever one is using for the inspiration), so this means mixing the colours from scratch. We do this by using primary colours:
 Above, you can see the three primary colours in the pot which form the base colour for the yarn. Yellow, red, and blue in specific proportions are used here to form the fawn colours on the main part of the body of the cat.

Once the three primary colours are added and stirred together, you can see the final colour in the pot. It is a challenge to apply this colour to the yarn as these three primary colours will bind to yarn at different rates because the pigment molecules are different sizes. Dyeing is very much like grade 10 physics: if the temperature of the water, or the amount of acid, or the mineral content of the water are wrong, the dye will bind unevenly and the yarn will turn pink and green which is NOT the desired effect! It takes a lot of patience and practice for this to work just right. Many commercially produced browns are stabilized to prevent this from happening, but none of these colours capture the colouring of the Siamese cat – so we make our own proprietary fawn and brown colours for this yarn.

The yarn begins with a light bath of this custom fawn, then it is removed from the water.

The dip-dyeing portion of the process begins as more of the dye blend is added to the pot, then the skeins are dipped up and down repeatedly.

Each time they are dipped, they go a little less far into the pot, allowing layers of dye build up on one end and not the other – this gives the shading that is seen on the yarn. We rest them on rods while we get ready to add more dye to the pot, which also allows time for the dye to settle in the yarn.


We can see more layers of dye forming the deeper brown that appears on the cat closer to the points with are the darkest part of the cat (the ears, face, legs and tail). Much dipping is needed to build these up smoothly, and the yarn must be stirred at the same time to distribute the dye evenly.

Since a cat is not solid colour, we let the yarn take the dye as it chooses, giving each skein a degree of subtle shading throughout. This is more pronounced when the yarn is wet because air will react with certain dyes and colours, causing the colours to change as they oxidize. The yarn at this stage appears more reddish than it will once finished and dried. Experience tells the dyer how much of this process will happen, as not all dyes do this.


The process continues as more layers of dye are built up gradually on the yarn. As the gradient is formed, more and more of the skeins are left out of the pot during the process, and more dye gets added in each stage.

The yarn is getting quite dark by the time the fifth layer of dye has been added, and at this point it is allowed to float free in the pot for a while so that it can absorb the much more concentrated dye.

 The final layer of dye on the ends of the yarn includes a touch of black to give it depth and to match the points of the cat. Once this layer of dye has been added, the yarn is steam finished so that the colour will not bleed.
However, the process is not complete! While the dye is applied, the yarn still needs to be washed to remove any possible excess dye and to return it to a neutral Ph so that the yarn will not degrade. The water in Calgary where our studio is located is mineral rich, and some dye can bind to those minerals, which means that occasionally a trace of colour will wash out the first time the yarn is washed (again, because once the dye has bonded to the minerals in the water, it will not bind to the yarn). This might seem annoying to some, but it is actually an advantage with this colourway and many others! The mineral content of our water comes from the Rocky Mountains, and our water supply is drawn from the Elbow and Bow rivers which originate in the mountains as glacial runoff. Thanks to being filtered through the rocks of the mountains as well as the prairie soil at the foot of the mountains, it picks up a wide range of minerals which affect the shades of our colourways, giving them additional warmth. Siamese Cat is actually very grey-toned if dyed using distilled water; its warmth and richness comes out thanks to the minerals in our water that act to alter our dyes and mordant the fibre at the same time.

Once the yarn has been washed and rinsed, we lay it flat on racks to air dry, allowing the fibres of the yarn to relax and return to their natural state (much like a sleeping kitten!). Yarn that is hung up wet to dry will get stretched out due to the weight of the water in the yarn, so we prefer to lay it flat to prevent that from happening. Another benefit of this method of drying is that there are no surprises the first time it is washed – sometimes yarn that has been hung to dry will bulk (fluff) significantly on the first washing and can give the knitter or crocheter an unexpected result.
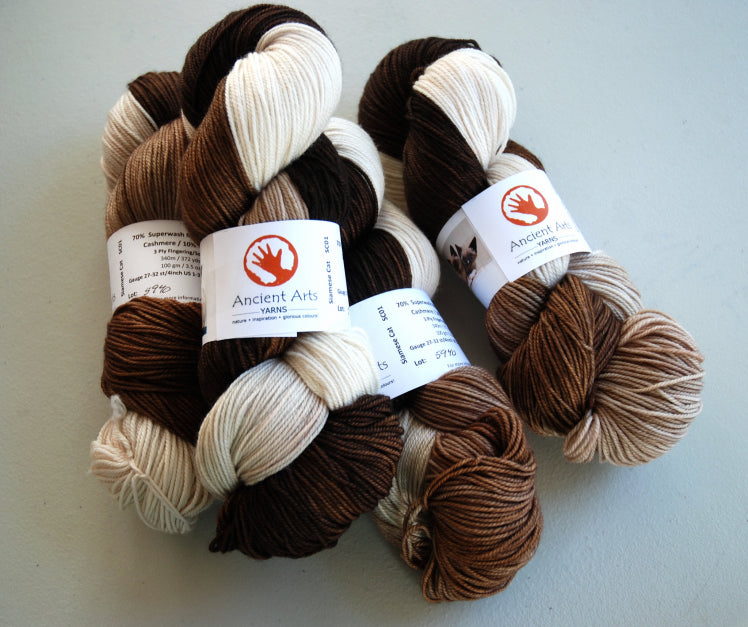
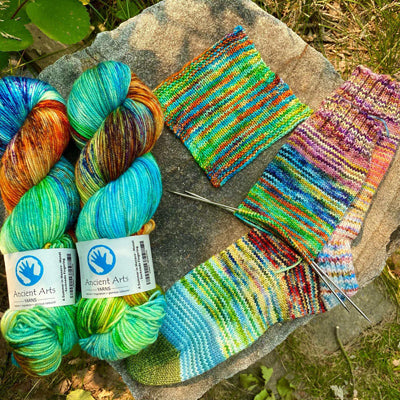
Once the yarn is dried, we finish each skein by removing unneeded skein ties and labelling as you see above. You may notice that it looks pretty different from the skeins in the previous progress photos, but due to the oxidation which occurs once the skeins have dried, the colours darken; once the yarn is out of the pot and sits for a while it takes on its final hue.

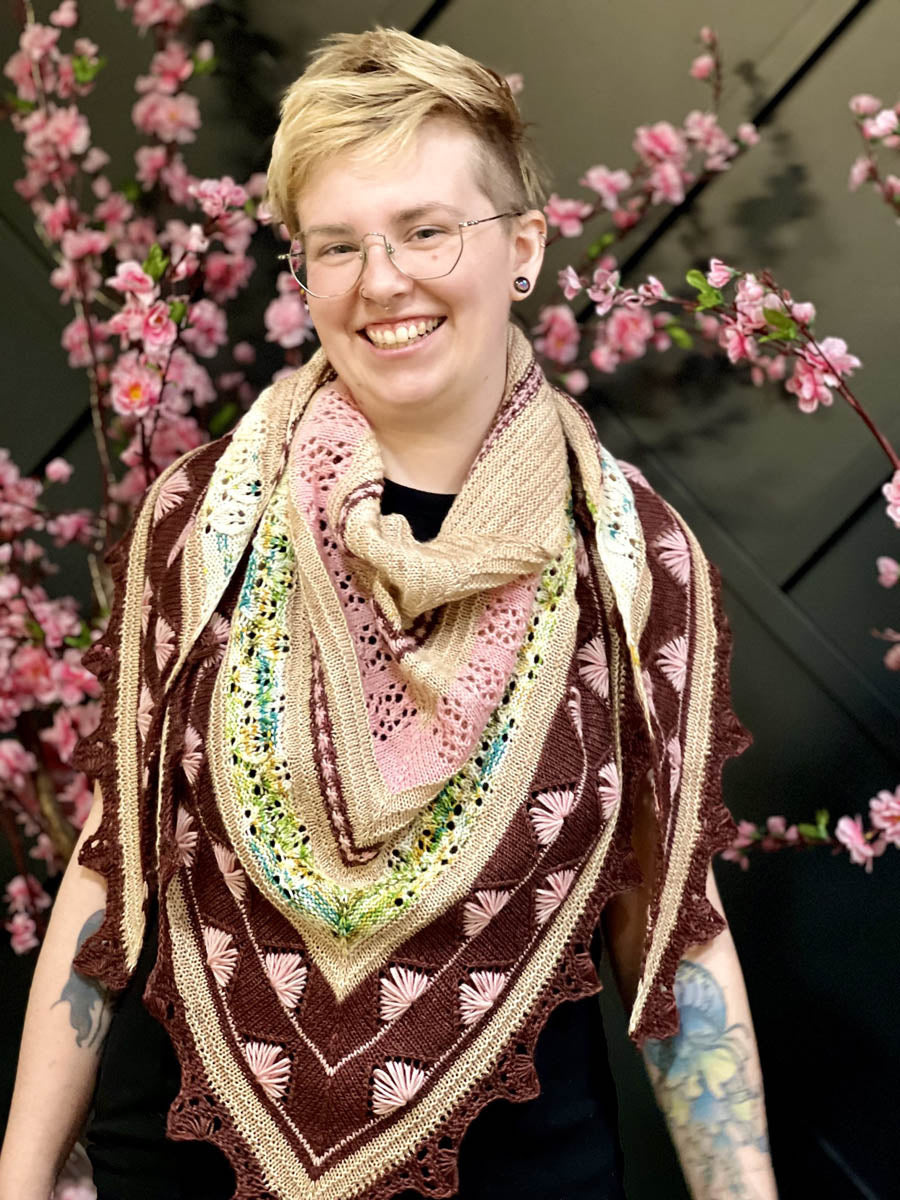
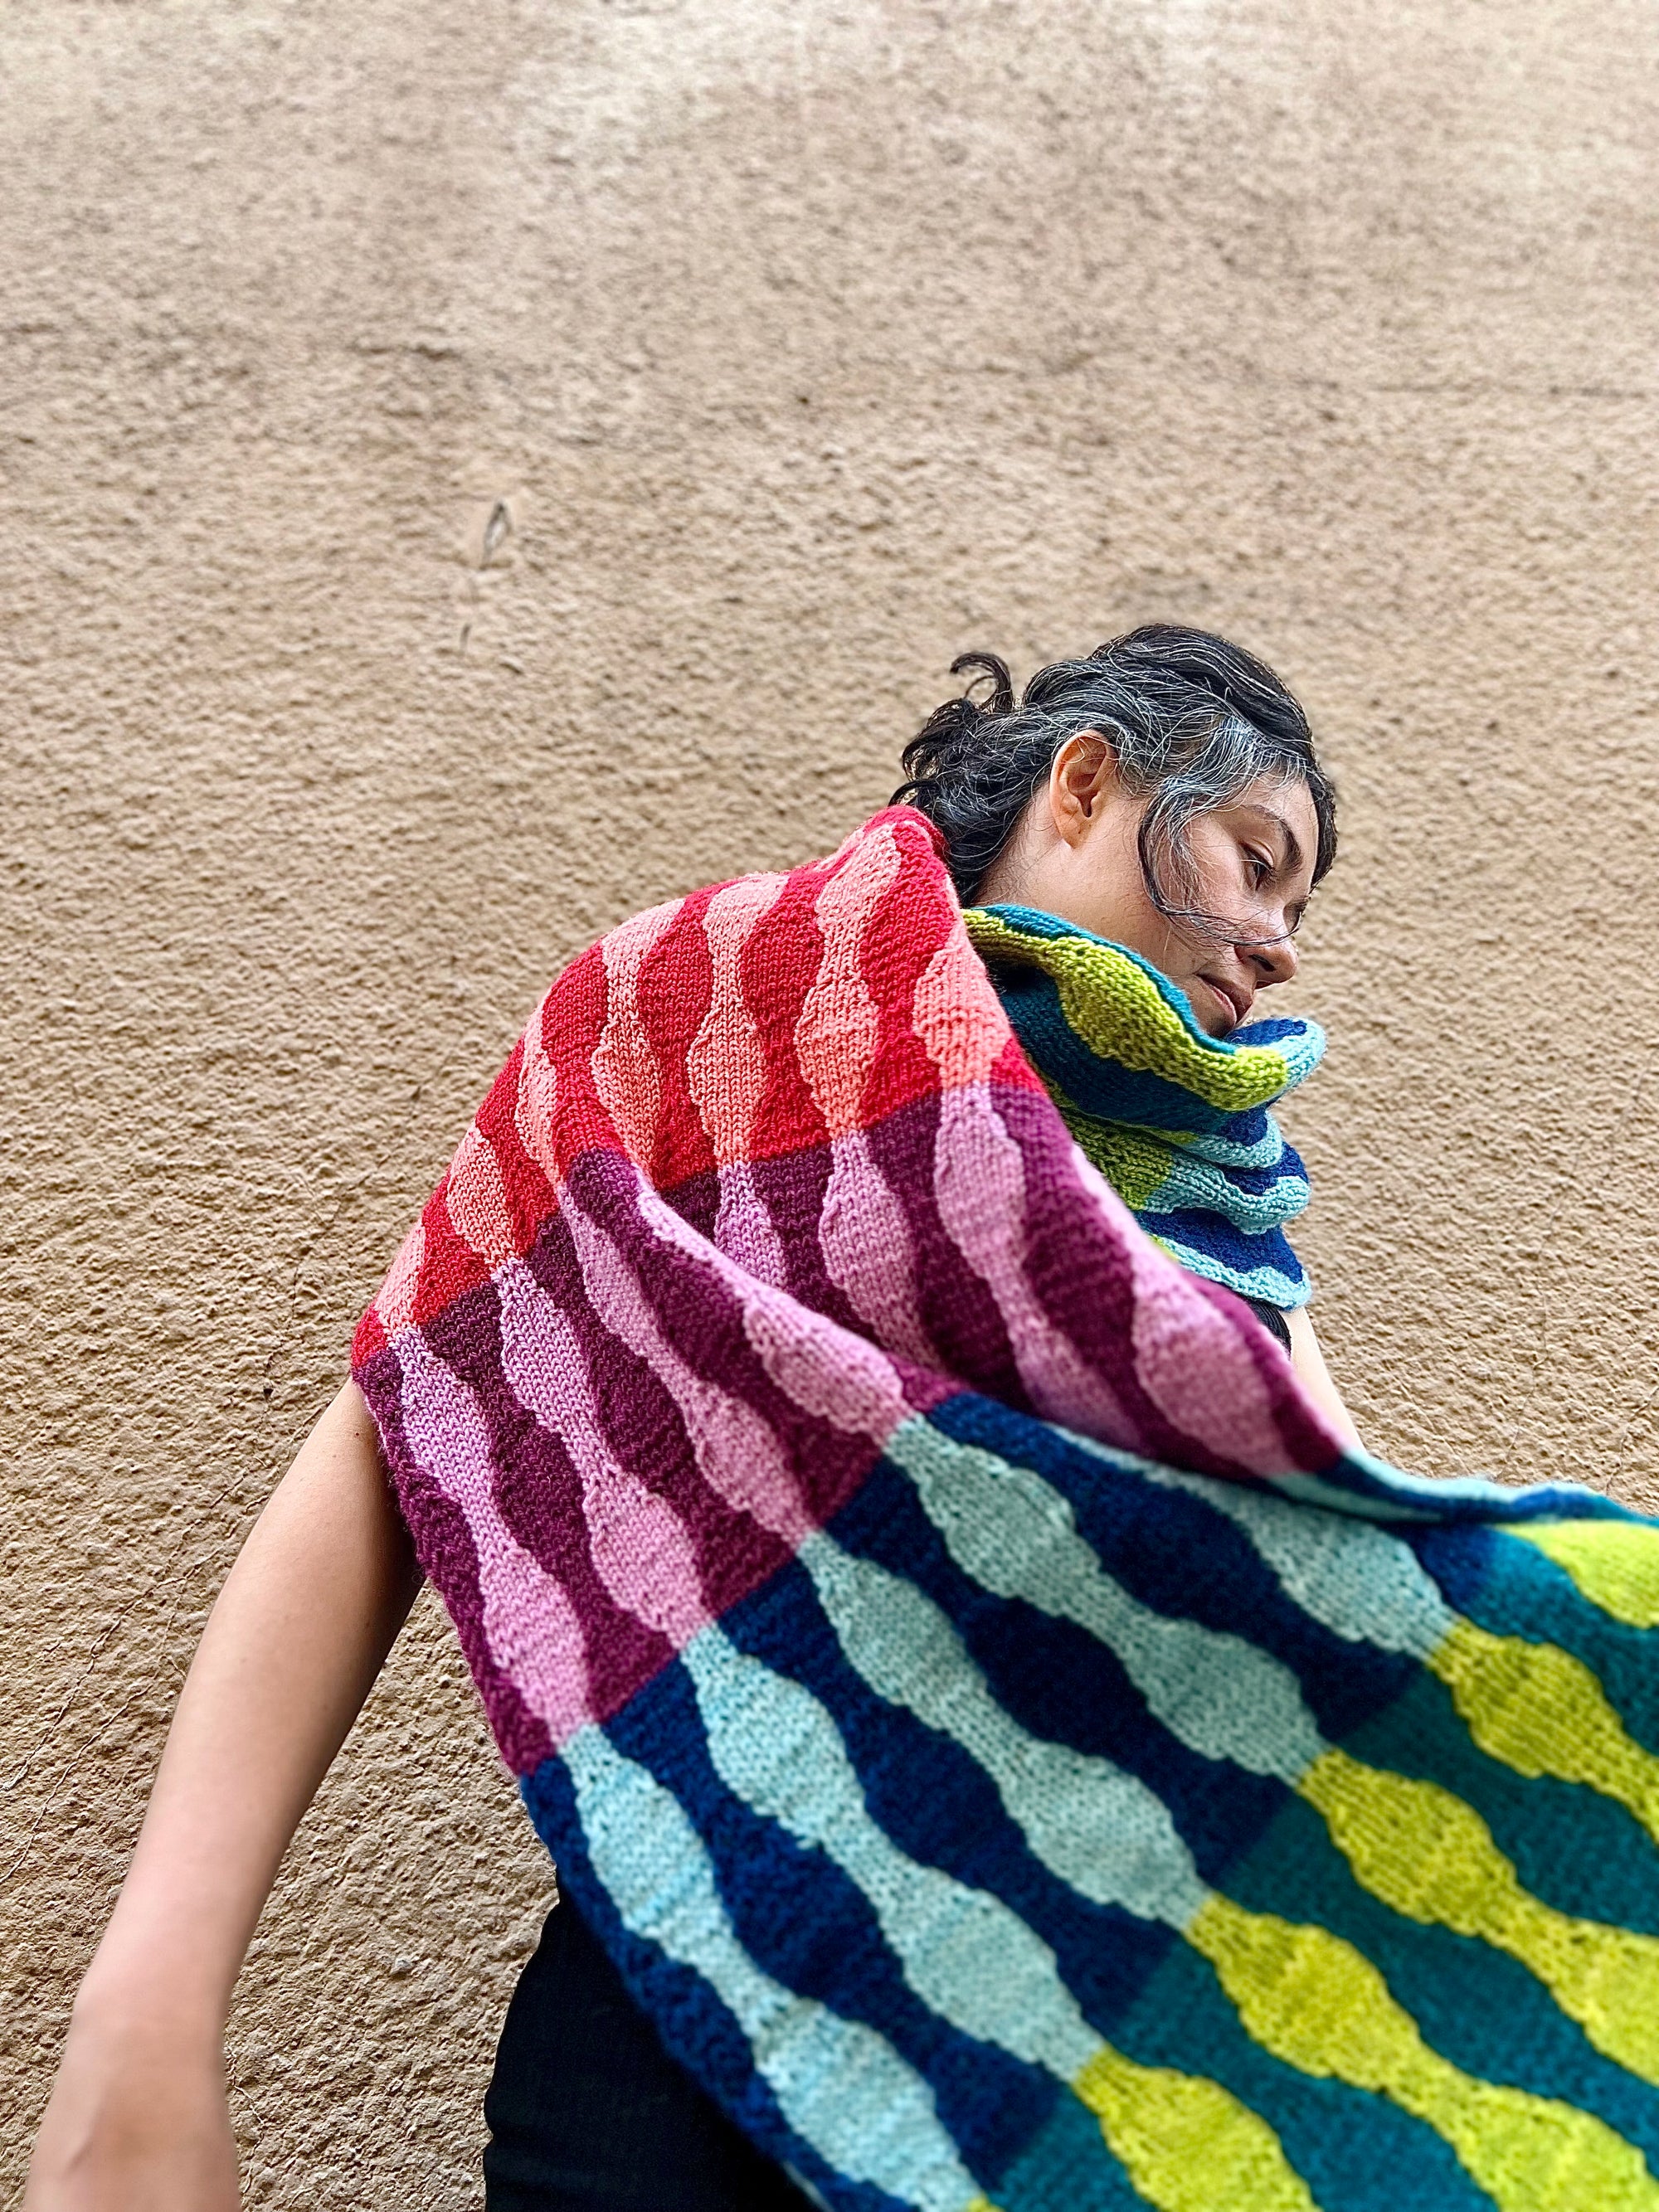
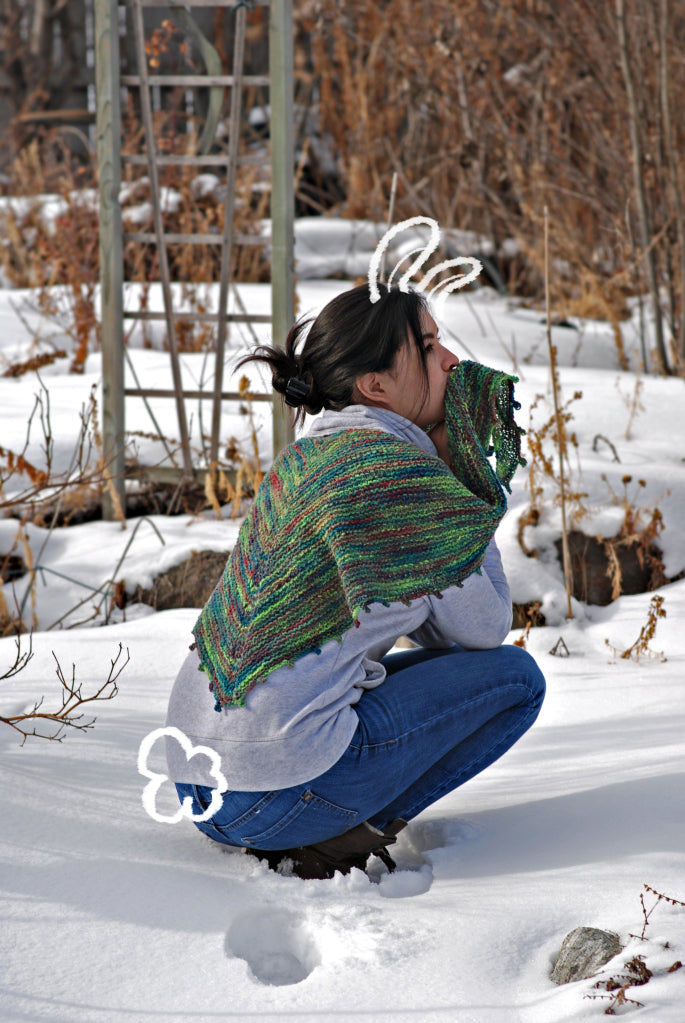
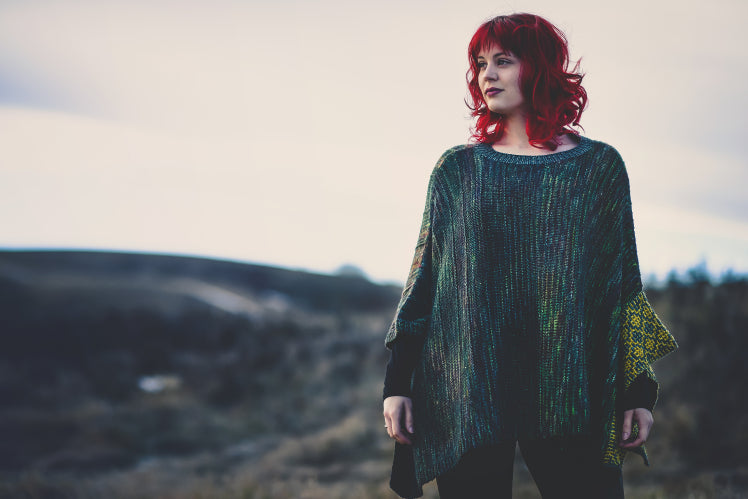
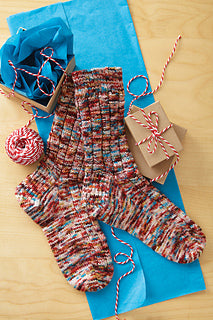
This same technique is used on other colourways, including Glacier, Kimono, Frost Flower, and Pretty as a Peacock. It provides a luminous effect to the end product thanks to the many layers of dye that allow the natural yarn to glow through them.
Click here to view our entire colour palette!


Leave a comment (all fields required)